
How to Create an Onboarding Plan Step by Step (With a Template)
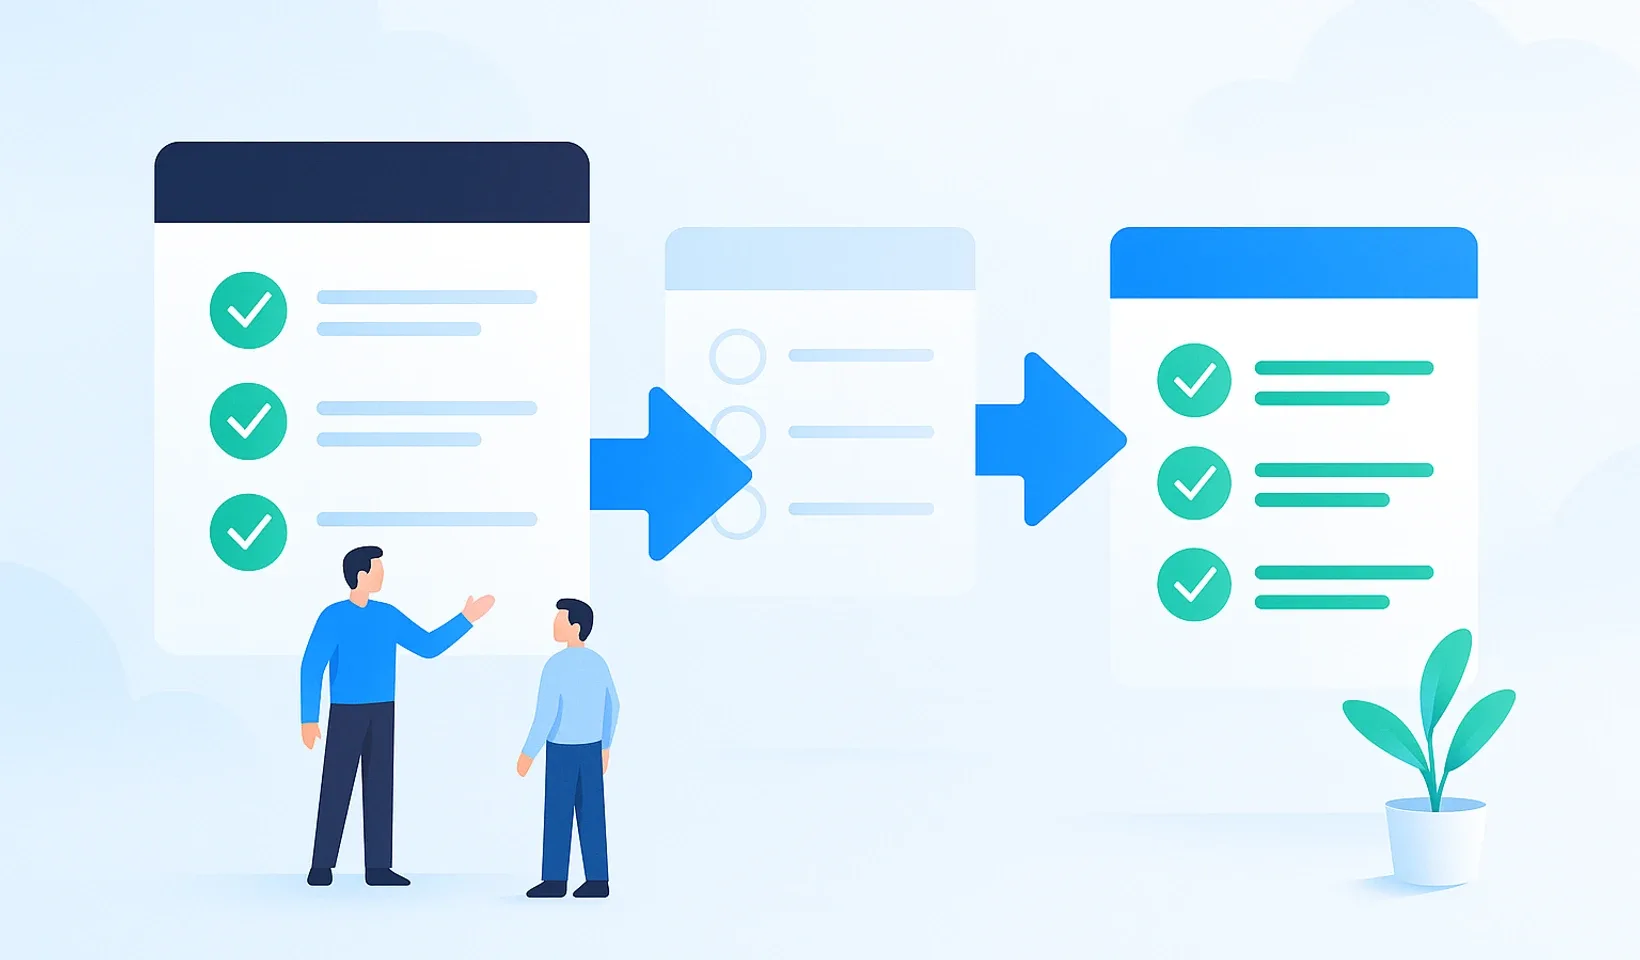
A good onboarding plan breaks a new hire’s first weeks into days: for each day it spells out what they learn, who they can ask, and how you’ll know they got it. You build it once and reuse it for every new starter. This article walks you through the six steps, gives you a two-week template you can adapt to your own role, and shows the three mistakes most plans die on.
Onboarding plan: a schedule that puts the knowledge of a role into order and assigns it to days. It is not the same as the training material: the material is the “what,” the plan is the “when and in what order.”
Why break it into days?
Because in a new hire’s first weeks, the biggest enemy is overload. If on day one they get “the folder” with all the material, one of two things happens: they read it all and forget half, or they never start. Splitting it by day solves this: they only see as much as they can process that day, and every day has a tangible end.
The day-by-day breakdown has a second, less obvious benefit too: it measures itself. If the plan says they should be at the response templates by day 4, and on day 6 they’re still on the basics, you spot that in time, not at the end of the probation period. For how much time is worth planning per role, you’ll find role-by-role ranges in our article on how long onboarding takes.
How to build it in six steps
1. Gather the tasks of the role
Write down the 5-10 most important tasks the new hire will eventually have to do on their own. This becomes the backbone of the plan, and also the yardstick: onboarding is done when these work. Don’t start from the org chart, start from what this person does on an average Tuesday.
2. Assign material to each task
Where there’s a process description, use it. Where there isn’t, you’ll find out now: building the onboarding plan is the fastest way to find the undocumented gaps. You don’t have to write everything up front; it’s enough if the material for the first two weeks of the plan exists, you can write the rest as you go.
3. Put it in order
The principle is simple: first what they’ll use daily, later what’s rarely needed. The first week is the everyday work, the second is the exceptions and rarer cases. “Company history and our values” type material belongs at the end of the line, not the beginning, no matter how much we love it.
4. Break it into days
No more than 2-4 topics per day, and every day should include practice: a reading-only day is the weakest form of learning. A good ratio is half the day material, half trying it out, shadowing, or a practice task.
5. Name an owner
One name, not a team. If “everyone” helps, in practice no one does: the new hire doesn’t know who they can safely interrupt, so they’d rather not ask. The owner doesn’t need to know everything, just to be reachable and to know who to redirect to.
6. Build in checks
A few questions or a practice task at the end of the more important topics. The goal isn’t testing, it’s making sure gaps surface with you, not with the customer. The question can be simple: “What do you do if a customer asks for an invoice with a corrected address?” If the answer is shaky, you know where another round is needed.
What does a finished plan look like? (two-week template)
The template is for a customer support role, but the structure carries over to anything: topic, practice, check, every day.
| Day | Topic | Practice | Check |
|---|---|---|---|
| 1 | The company, the team, the tools | set up accounts | |
| 2 | Product basics | try the product | short quiz |
| 3 | Handling incoming requests | read 5 closed cases | |
| 4 | Response templates and tone | write 3 practice replies | manager review |
| 5 | Weekly recap, questions | shadow an experienced colleague | |
| 6-7 | Handling billing questions | 2 real cases with supervision | practice task |
| 8 | Complaint handling | escalation rules | quiz |
| 9 | Rare cases, exceptions | ||
| 10 | Independent work with supervision | a full day live | closing review |
Two notes on the template. The day 5 shadowing is deliberately at the end of the week, not the start: by then they understand what they’re watching. And the day 10 “independent work with supervision” isn’t a formality, it’s the plan’s final exam: this is where you find out whether onboarding is really done, or whether another week is needed.
What do most onboarding plans die on?
It ages in the spreadsheet
The plan gets built, then no one keeps it up. The new hire can’t see where they stand, the manager can’t see what’s checked off, and after two weeks the plan and reality aren’t even on speaking terms. An onboarding plan is alive when progress shows on its own, not when someone has to administer it.
It hands over everything at once
If the plan is just a collection of links, the new hire races ahead, dips into the week-three material, and gets lost. A good system keeps next week’s material locked and today’s open: that way the plan isn’t just a suggestion, it’s an actual pace.
No one owns the updates
Six months later a process changes, the plan’s material goes stale, and the new starter confidently learns the old version. That’s why it’s worth keeping the plan in the same place as your process descriptions: if the description updates, the plan automatically serves the fresh one. In Corganize the two are the same content, so this mistake structurally can’t happen.
Frequently asked questions
What is an onboarding plan?
A day-by-day path that spells out which day the new hire learns what, who helps them, and how you'll check they understood it. It's not training material, it's a schedule for the training material.
How long should an onboarding plan be?
As long as the role justifies: 1 week for a simple role, typically 2 weeks for customer support, 1-2 months for a complex role. What matters is the day-by-day breakdown, not the total length.
Who should create the onboarding plan?
The person who knows the role best, usually the future direct manager or the most experienced colleague. You build it once, then reuse it for every new starter.
What's the difference between an onboarding plan and an onboarding checklist?
A checklist is a list of administrative tasks (accounts, tools, paperwork), while an onboarding plan is the schedule for transferring knowledge. You need both, but a checklist alone doesn't train anyone.
How long does it take to build an onboarding plan?
If your process descriptions exist, a few hours: most of the work is putting them in order. If they don't, building the plan reveals what still needs writing, and this is the best order to fill those gaps too.
The plan that keeps itself on track
In Corganize the onboarding plan reaches the new hire day by day, locked: next week's material stays closed, today's is open, and you see progress without asking. You build the plan once, then reuse it for every new starter.
Request access